Astrophotography for Beginners: How to Click Stunning Star Photos at Astroport
You step outside on a clear night in Delhi. You look up. You see maybe 20 stars, a hazy orange glow, and a sky that looks nothing like the photos you see online. Cities like Delhi experience nighttime brightness levels 40 to 50 times higher than what is considered natural. (Source: Down To Earth, 2024) That orange dome over the city is not atmosphere. It is light pollution actively erasing your night sky.
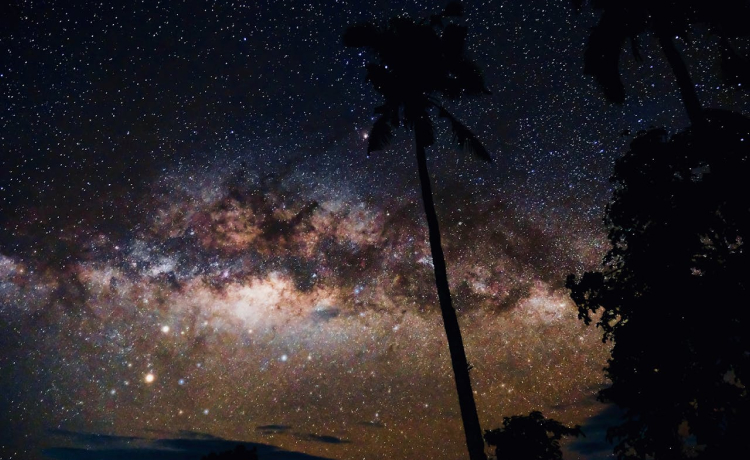
So when you see breathtaking photos of the Milky Way arching across a star-filled sky and think, “I could never do that in India,” you are partially right. You cannot do it from a city. But you absolutely can do it from the right location. And with the right astrophotography tips India beginners can start using today, you will be capturing stunning star photos faster than you think.
This guide walks you through everything. Location, gear, camera settings, apps, and the best time to shoot. We also show you exactly why Astroport Sariska is where serious beginners take their first great star photo.
About Astroport Sariska
Astroport Sariska invites you to rediscover wonder beneath vast star-lit skies and amidst forested hills. As India’s first astronomy-themed resort, we blend wild-forest charm, wildlife proximity and eco-friendly luxury so you can gaze at the cosmos by night and unwind in serene cottages by day. Perfect for families, couples or anyone craving a nature and stargazing escape.
Why India’s City Skies Are Killing Your Photography Dreams
Light pollution is not a minor inconvenience. It is a wall between you and the cosmos. Around 70% of India’s population lives under light-polluted skies, and the problem is particularly severe in cities like Delhi, Mumbai, and Kolkata. (Source: Down To Earth, 2024)
The result is a night sky that is scientifically impoverished. Delhi residents can see only 20 to 50 stars on a clear night. Astrophotographers in dark sky locations abroad routinely capture 4,000 or more. That is not a difference of equipment. That is a difference of location.
This is the biggest reason why astrophotography tips India beginners receive from international sources often fail here. The advice assumes you have a dark sky. Most guides skip that step entirely. We will not.
Q: Why can I not see the Milky Way from Delhi or Mumbai?
A: Heavy light pollution in Indian metros raises the sky’s background brightness to levels that wash out faint objects like the Milky Way. You need a Bortle Class 4 or darker sky to photograph it clearly. That is why astrophotography tips India beginners should always start with finding the right location first.
What Is Astrophotography? A Beginner-Friendly Definition
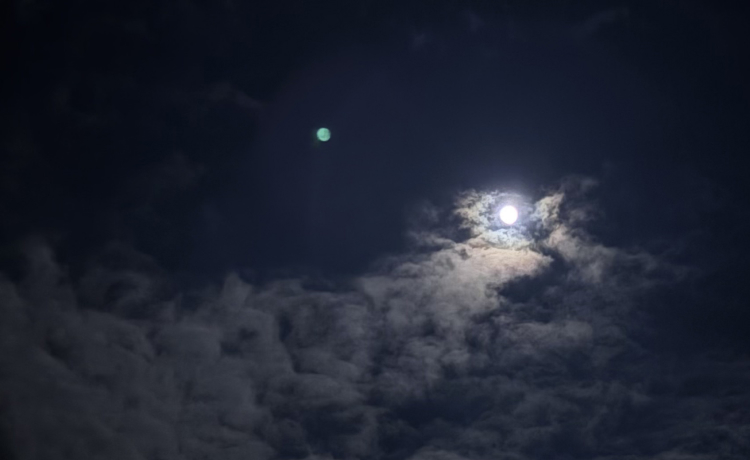
Astrophotography is the art and practice of photographing the night sky and celestial objects. This includes the Milky Way, star trails, meteor showers, constellations, planets, and deep-sky objects like nebulae and galaxies.
You do not need a telescope to start. A DSLR or mirrorless camera with a wide-angle lens is enough to capture incredible landscape images of the Milky Way. (Source: Expert Photography, 2024)
There are two broad categories beginners should know. Wide-field astrophotography covers large sky scenes, like the Milky Way stretching above a landscape. Deep-sky astrophotography uses telescopes to zoom in on galaxies, star clusters, and nebulae. Most beginners start with wide-field photography. It requires minimal gear and produces stunning results quickly.
Quick Facts: Astrophotography Tips India Beginners Should Know
- Delhi and other metros show only 20 to 50 stars due to severe light pollution
- Astroport Sariska sits under Bortle Class 4 dark skies with 4,000+ stars visible
- Best beginner camera starting point: f/2.8, ISO 1600 to 3200, 20 to 25 seconds
- The 500 Rule: divide 500 by your lens focal length to find max shutter speed before stars trail
- Dark adaptation takes 20 to 30 minutes – avoid white light before and during your shoot
- Best astrophotography season in India: October to March for clear, dry skies
- Milky Way core is visible in India from approximately February to October
- Shoot on or near new moon nights for the darkest skies
- Astroport Sariska is 3 to 4 hours from Delhi NCR, Alwar district, Rajasthan
- Three must-have apps: Stellarium, PhotoPills, Star Walk 2
The One Thing That Matters More Than Your Camera: Dark Skies
Every beginner fixates on gear. The right camera. The right lens. The right settings. But veteran astrophotographers will tell you the single biggest upgrade you can make has nothing to do with equipment. It is your location.
The Bortle Scale measures night sky darkness from Class 1 (pristine, zero human interference) to Class 9 (the brightest urban cores). Delhi residents can see only 20 to 50 stars on a clear night. Remote regions like Sariska offer views of over 4,000 stars under Bortle Class 4 skies. (Source: Sky at Night Magazine, 2024)
At Astroport Sariska, guests shoot under Bortle Class 4 dark skies, located just 3 to 4 hours from Delhi NCR in Alwar, Rajasthan – adjacent to Sariska Tiger Reserve. This single factor transforms beginner shots. Images that look like a black rectangle from a city rooftop become rich, detailed Milky Way panoramas here.
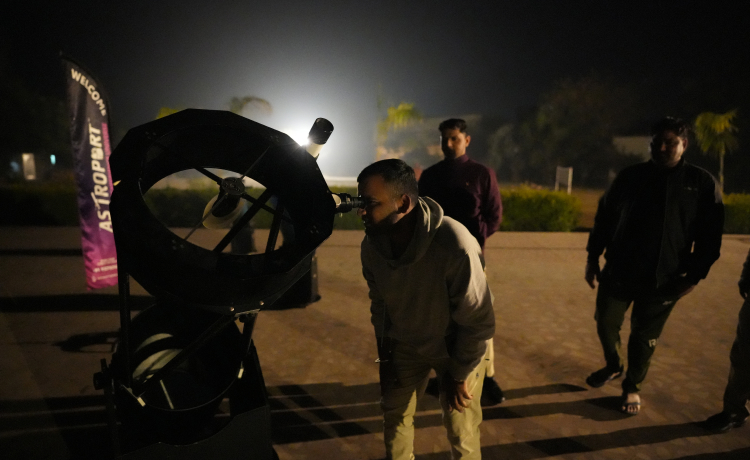
We also offer access to a professional 16-inch Dobsonian telescope guided by expert astronomers on-site. While your camera captures the wide sky, our telescope reveals Saturn’s rings, Jupiter’s moons, and star clusters in breathtaking detail. The two experiences together give every beginner a complete introduction to the night sky.
Q: How far do I need to travel from Delhi for good astrophotography conditions?
A: You need to travel at least 3 to 4 hours from Delhi to reach Bortle Class 4 or darker skies. Astroport Sariska, located in Alwar district, Rajasthan near Sariska Tiger Reserve, is one of the closest quality dark sky locations to the capital.
The Gear You Actually Need (And What You Can Skip)
The beginner astrophotography gear list is short. Even smartphones can capture the night sky using night mode on recent models. That said, a DSLR or mirrorless camera gives you far greater control and much better results. (Source: Photography Life, 2024)
Here is the honest beginner gear list:
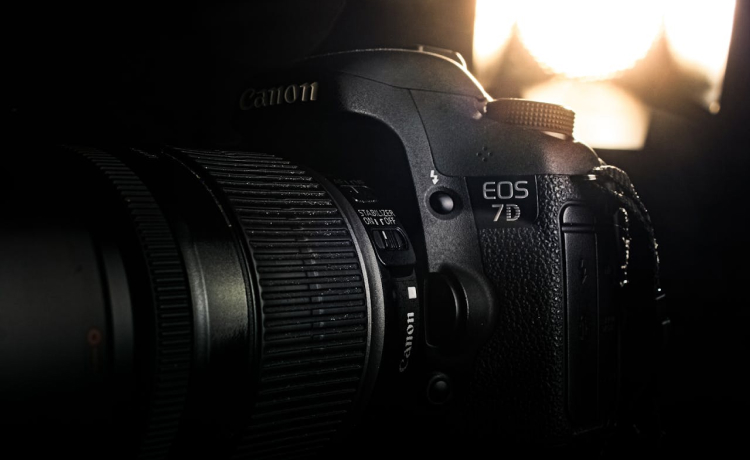
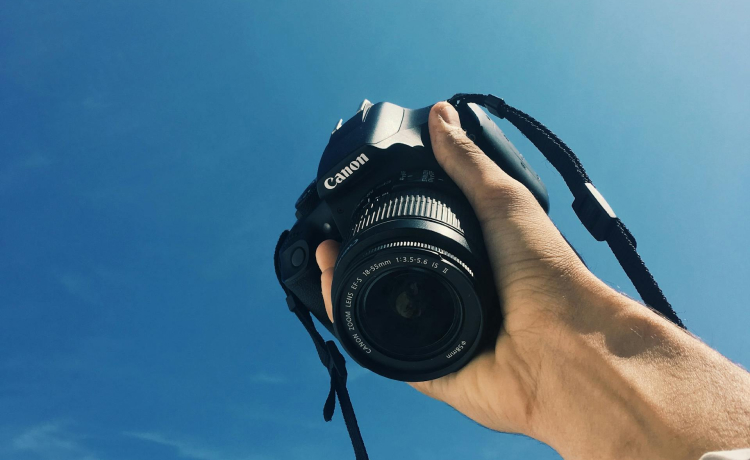
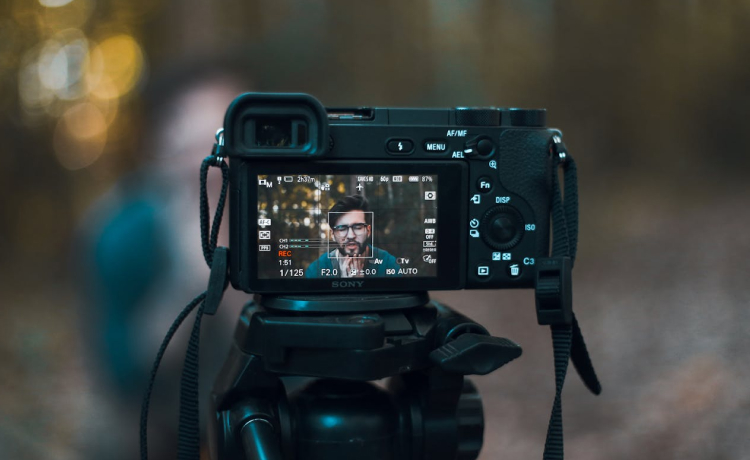
Camera: Any DSLR or mirrorless with manual mode. You do not need to spend a fortune. Entry-level models like the Canon EOS 1500D, Nikon D3500, or Sony a6000 work well for beginners.
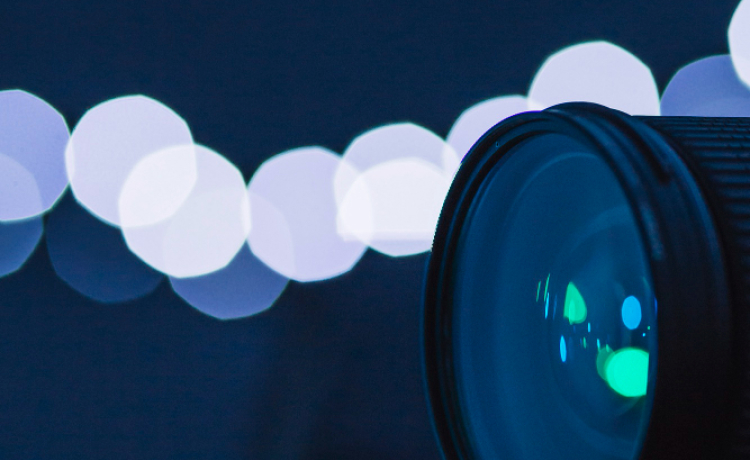
Lens: A wide-angle lens is your best friend. The ideal focal length is 14mm to 35mm. Aim for f/2.8 or wider. (Source: Expert Photography, 2024) The lower the f-stop, the more light reaches your sensor.
Tripod: Non-negotiable. Any movement during a 20 to 25 second exposure turns your stars into blurry streaks. Buy the most stable tripod your budget allows.
Remote shutter or 2-second timer: Even pressing the shutter button creates vibration. Set your camera’s self-timer to 2 seconds. It costs nothing and keeps shots sharp.
Red headlamp: Use red light instead of white light when working in the dark. White lights ruin your dark adaptation and can disrupt other photographers nearby.
What you can safely skip for now: a star tracker, a telescope, and stacking software. These are great upgrades later. They are not required for your first Milky Way shot.
Astrophotography Camera Settings for Beginners: Your Cheat Sheet
This is the section most beginners search for. No single set of settings works for every situation. The strategy is to start with a reliable base and adjust from there. (Source: Expert Photography, 2024)
Here is your reliable starting point for wide-field night sky photography:
Mode: Manual (M on your dial). Always.
Aperture: Open your lens as wide as it goes. f/2.8 is ideal. f/1.8 is even better if your lens supports it. The wider the aperture, the more starlight hits your sensor.
ISO: Start at ISO 1600. Raise to ISO 3200 if your image looks too dark. Going beyond ISO 6400 introduces significant grain on most beginner cameras.
Shutter Speed: Start at 20 seconds. Use the 500 Rule (below) to find the precise limit for your lens. Going beyond 25 to 30 seconds causes stars to trail due to Earth’s rotation.
Focus: Switch to manual focus. Auto-focus does not work in the dark. Set your lens to infinity and fine-tune using live view to zoom in on a bright star.
White Balance: Set to 3200K to 4000K for a natural, deep-blue sky. Auto white balance produces inconsistent results between shots.
File Format: Shoot in RAW, not JPEG. RAW files retain far more data and give you significantly more control when editing.
Q: What are the best camera settings for astrophotography beginners in India?
A: Start with f/2.8 aperture, ISO 1600 to 3200, and a shutter speed of 20 seconds. Always shoot in RAW and use manual focus set to infinity. These settings work across most beginner DSLR and mirrorless cameras and are a reliable foundation for astrophotography tips India beginners can act on immediately.
The 500 Rule: Your Beginner Formula for Perfect Stars
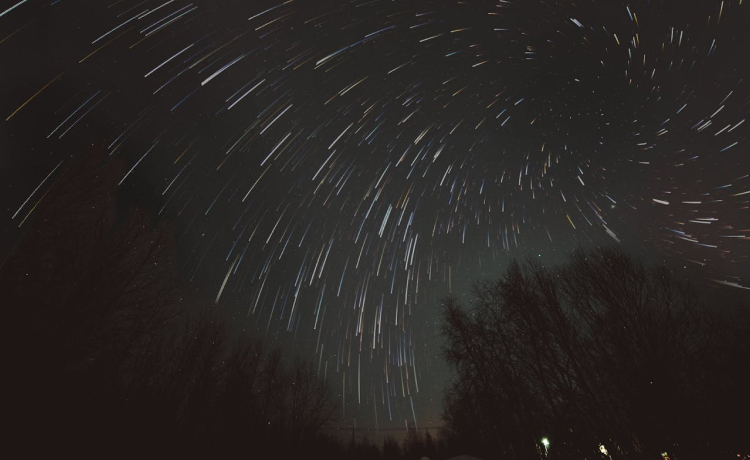
Star trails are beautiful. But when you are going for sharp, pinpoint stars, they are a mistake. The 500 Rule tells you exactly how long you can expose before your stars start to trail.
The Formula: 500 divided by your lens focal length (in mm) = maximum shutter speed in seconds.
Examples:
- 24mm lens: 500 / 24 = 20.8 seconds (use 20 seconds)
- 18mm lens: 500 / 18 = 27.7 seconds (use 25 seconds)
- 35mm lens: 500 / 35 = 14.3 seconds (use 14 seconds)
(Source: Photography Life, 2024)
If you own a crop sensor camera, which most entry-level DSLRs are, use the 300 Rule instead. Crop sensors magnify the effective focal length. The 300 Rule accounts for that and gives you a more accurate limit.
Print this formula. Keep it on your phone. It is the single most useful calculation in any beginner’s astrophotography toolkit.
4 Must-Have Apps to Plan Your Astrophotography Session
Good astrophotography starts before you point your camera at the sky. Planning your session with the right apps makes a significant difference to your results.
1. PhotoPills
PhotoPills is widely considered the most powerful planning app for astrophotography. It lets you visualise exactly where the Milky Way will appear at any location, on any date, at any time. You can plan your entire composition days in advance. (Source: PhotoPills, 2024)
2. Stellarium
Stellarium is a free planetarium app that shows a real-time map of the night sky. Point your phone at any part of the sky and it instantly identifies stars, constellations, planets, and deep-sky objects. It is invaluable for beginners learning the sky. (Source: Stellarium, 2024)
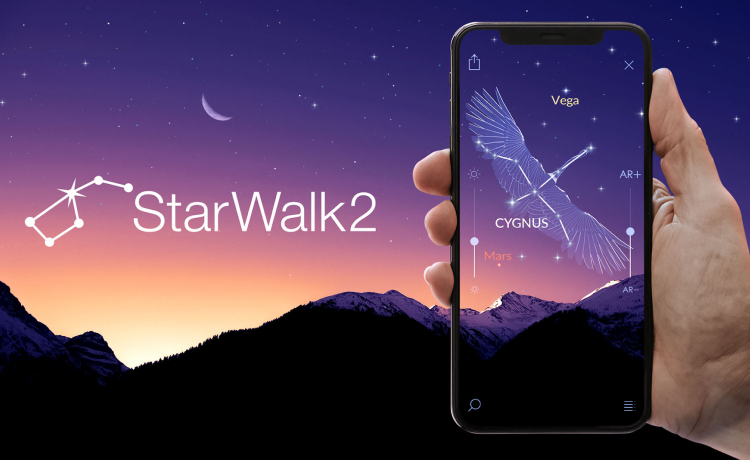
3. Star Walk 2
Star Walk 2 is one of the most beginner-friendly sky-identification apps available. It is visually beautiful, easy to use, and works perfectly as a companion while shooting. Great for identifying exactly what you are photographing in real time.
4. Light Pollution Map
Before choosing your location, check a light pollution map. The website lightpollutionmap.info shows Bortle class levels across India in detail. Use it to verify that your destination genuinely offers dark skies before you make the drive.
Best Time for Astrophotography in India
Timing matters enormously. India’s climate and monsoon seasons directly affect when and where you can shoot.
October to March is the best overall window for astrophotography in India. Skies are clear, humidity is low, and nights are long. This is the prime season for Milky Way landscape photography and for shooting the winter constellations including Orion.
February to May is when the Milky Way’s galactic core becomes visible in the pre-dawn sky. By April and May, the core rises earlier in the evening, offering better shooting windows for most travelers.
Avoid June to September. The monsoon season brings heavy cloud cover across most of India. Shooting during this period is extremely difficult except in very specific rain-shadow regions.
Moon Phase: Always check the lunar calendar before planning your shoot. New moon nights offer the darkest skies. Even a half-moon significantly raises background brightness and reduces contrast in your images. (Source: Sky at Night Magazine, 2024)
At Astroport Sariska, we plan our astronomy programs around optimal moon phases so every guest experiences the best possible dark sky conditions.
How Astroport Sariska Supercharges Your First Astrophotography Session
There is a meaningful difference between shooting alone in an unknown dark field and shooting under guided, purpose-built conditions. Astroport Sariska is designed to give every beginner the best possible start.
Here is what makes our location exceptional for every astrophotography tips India beginners guide should be recommending:
Bortle Class 4 Dark Skies. Our location in Alwar district, Rajasthan delivers over 4,000 visible stars and clear Milky Way views that are simply unavailable anywhere near Delhi NCR without a 3 to 4 hour drive.
Expert Astronomer Guides. Our on-site astronomers lead guided stargazing sessions every night. They help you identify objects, plan compositions, and troubleshoot settings in real time. This accelerates learning faster than any tutorial online.
Professional 16-inch Dobsonian Telescope. While your camera captures the wide sky, our telescope brings deep-sky objects within reach. View Saturn’s rings, the Andromeda Galaxy – located 2.5 million light-years away – and nebulae in stunning detail alongside your own shots.
Sariska Tiger Reserve Proximity. Our “Astro-Safari” concept is one of a kind. Track tigers by day in one of India’s premier wildlife reserves. Photograph nebulae by night. These two experiences share a surprising connection – 70% of mammals are nocturnal, and dark sky preservation directly supports healthy wildlife habitats.
Eco-Friendly, Premium Comfort. Our cottages run on 100% solar power. We are a no-plastic zone. Dining is farm-to-table with organic local produce. Private pool villa options are available. You get premium comfort without compromising the environment that makes our dark skies possible.
Ready to take your first star photo?
Join us at Astroport Sariska for a guided astrophotography session under Bortle Class 4 dark skies. Our expert astronomers will help you dial in your settings, plan your compositions, and capture your first stunning Milky Way photograph. Just 3 to 4 hours from Delhi NCR. Visit astroportsariska.com to book your stay.
Frequently Asked Questions About Astrophotography Tips India Beginners Often Ask
Q: What is the best camera for astrophotography beginners in India?
A: Any DSLR or mirrorless camera with manual mode works well for beginners. Entry-level options like the Canon EOS 1500D, Nikon D3500, or Sony a6000 are all capable of excellent results. The camera matters far less than your location and settings.
Q: Can I do astrophotography with just a smartphone?
A: Yes, to a limited degree. Recent smartphones with dedicated night modes – particularly the Google Pixel and Samsung Galaxy series – can capture bright stars and faint Milky Way hints under genuinely dark skies. For full control and detailed results, a DSLR or mirrorless camera is a significant step up.
Q: Is astrophotography at Astroport Sariska suitable for absolute beginners?
A: Absolutely. Our expert astronomer guides work with guests at every experience level. Beginners receive hands-on help with camera settings, composition, and identifying objects in the sky. No prior astronomy or photography knowledge is required.
Q: What is the best time to visit Astroport Sariska for astrophotography?
A: October to March is our prime season. Skies are clear, nights are long, and the Aravalli air is crisp and dry. We recommend planning your visit around new moon nights for the darkest possible skies.
Q: How do I avoid star trails in my photos?
A: Use the 500 Rule. Divide 500 by your lens focal length in mm to find your maximum shutter speed before stars begin to trail. For a 24mm lens, that is approximately 20 seconds. Always use a tripod and a 2-second self-timer or remote shutter for sharp results.
Q: Do I need a telescope for astrophotography?
A: Not for wide-field astrophotography. A DSLR with a wide-angle lens is all you need to photograph the Milky Way, star trails, and constellations. At Astroport Sariska, our professional 16-inch Dobsonian telescope is available during guided sessions for guests who want to explore and photograph deep-sky objects up close.
Q: Is Astroport Sariska suitable for families and solo travelers?
A: Yes. Astroport Sariska is a premium, eco-friendly resort with guided experiences designed for all age groups. Families, couples, solo travelers, and first-time astrophotographers are all warmly welcomed. Children particularly enjoy the guided stargazing and telescope sessions.
Your First Star Photo Is Waiting for You
The night sky above India is extraordinary. Most of us have simply never had the chance to see it properly. Light pollution, city life, and the lack of a genuinely dark sky have kept that view hidden for too long.
Astrophotography does not require talent. It requires the right location, a few simple settings, and a willingness to stand quietly under the stars for twenty seconds at a time. Everything else follows naturally.
Astroport Sariska exists precisely for moments like your first Milky Way photograph. The one where you check the back of your camera and cannot quite believe what you captured. Three to four hours from Delhi, under Bortle Class 4 dark skies, with expert guides and a professional telescope beside you – that moment is closer than you think.
Book your astrophotography experience at Astroport Sariska today. Your first stunning star photo starts here.
Visit astroportsariska.com to check availability and book your stay