
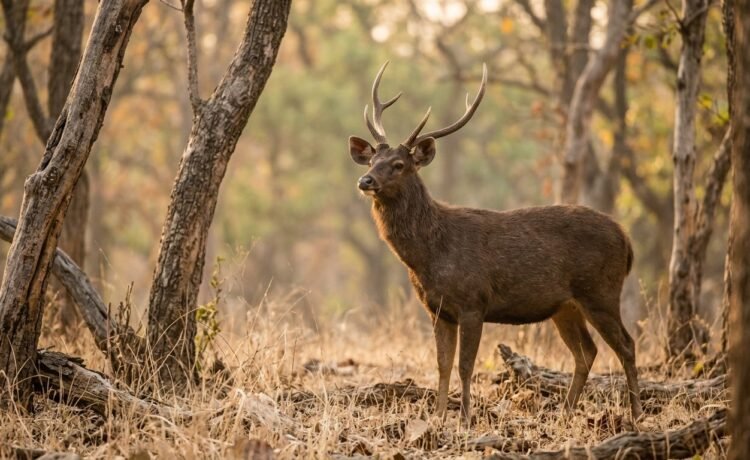
The jeep stops. Somebody points. There, in the scrub, a shape resolves into an animal.
You lift the camera. Then you get a branch in focus, a blurred flank, and the sound of the vehicle moving on.
That is the standard first-safari experience. So this guide is about avoiding it.
It covers what to bring, what to set, and how to behave. Wildlife photography beginner Sariska trips are forgiving if you prepare three things. Also, most of the preparation is free.
Start With Expectations, Not Equipment
The first correction is mental. A safari is not a zoo with better scenery.
You will spend most of a drive seeing nothing. Then, for about ninety seconds, everything happens at once.
So the skill being tested is readiness, not artistry. Your camera should already be on, already set, and already in your hands.
Most missed shots happen in the first four seconds. The camera was in a bag. Then the lens cap was on. Then the settings were from yesterday evening.
There is a second expectation worth resetting. Your best frame will probably not be a tiger.
Deer in low mist. A peacock crossing a track. Langurs backlit in dust. These are the pictures people actually keep.
Big cats are rare by design. The reserve is large, and they are few.
Q: How many good photographs should I expect from one drive?
A: Two or three, honestly. Experienced wildlife photographers keep a tiny fraction of what they shoot. A single frame you like from a morning is a good morning.
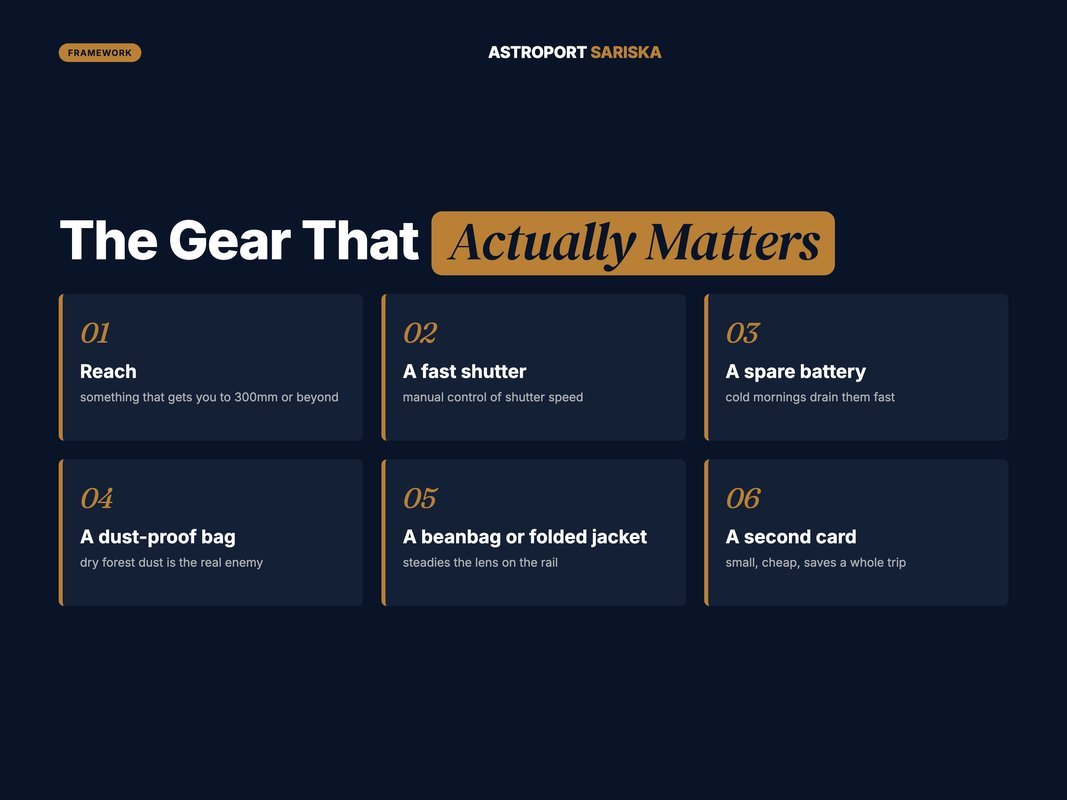
The Gear That Actually Matters
You need less than the internet suggests. Still, a few things genuinely change your results.
Here is the honest hierarchy, in order.
- Reach. Something that gets you to roughly 300mm or beyond.
- A fast shutter. Any camera that lets you set shutter speed manually.
- A spare battery. Cold mornings drain them faster than you expect.
- A dust-proof bag. Dry forest dust is the real enemy.
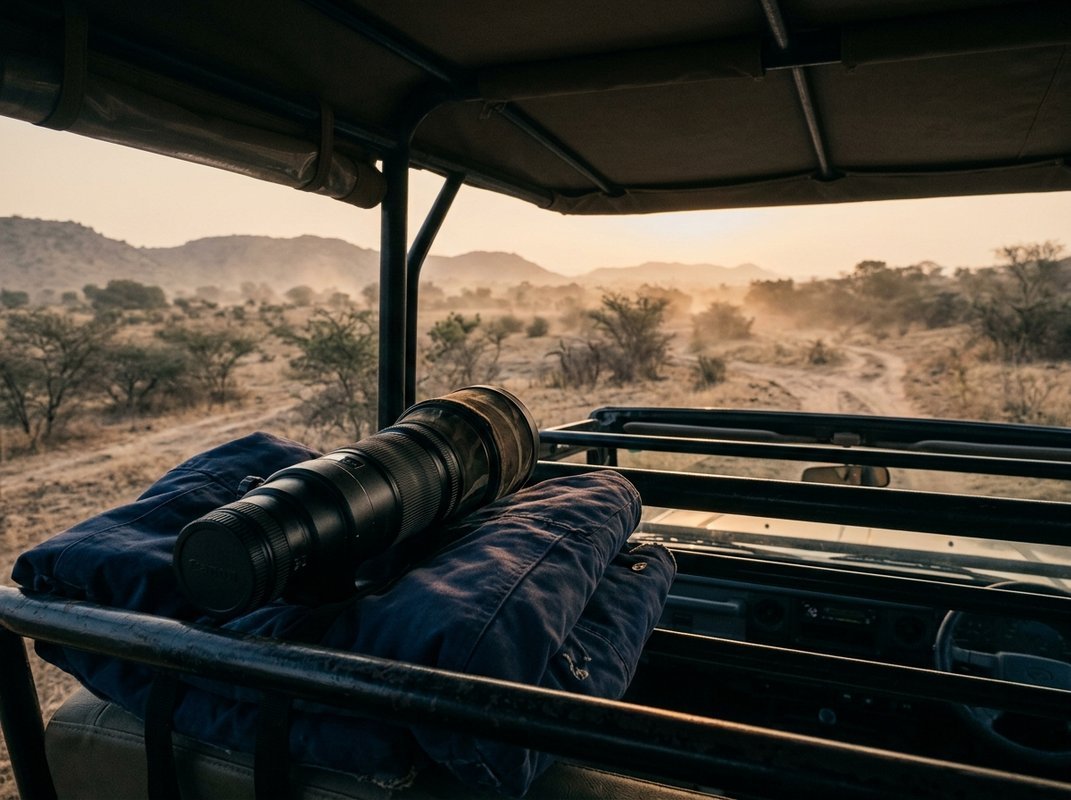
- A beanbag or folded jacket. For steadying the lens on the vehicle rail.
- A second card. Small, cheap, and saves a whole trip.
Notice what is not on that list. There is no tripod, because you cannot use one in a moving vehicle. There is no flash either.
If You Only Have a Phone
A recent phone is more capable than people assume. Still, it has one hard limit, which is reach.
So use it for habitat rather than for animals. A wide frame of dry forest at dawn works beautifully. Meanwhile a tiger at 200 metres becomes four grey pixels.
Then use the phone’s burst mode for anything moving. Also, clean the lens before every drive, because dust film is what softens most phone images.
Avoid the digital zoom. It does not add reach. Instead it just crops and softens the frame.
Shoot wide and crop later at home. You will keep far more detail that way.
If You Are Renting or Borrowing
Take it out the day before. Then shoot fifty frames in your garden or on the road.
You want the controls to be muscle memory before the gate opens. A borrowed camera you are still learning is worse than a simple one you know.
Learn three things in particular. How to change shutter speed. Then how to switch to burst. Finally, how to check a photo quickly.
That is enough. Everything else can wait until after the trip.
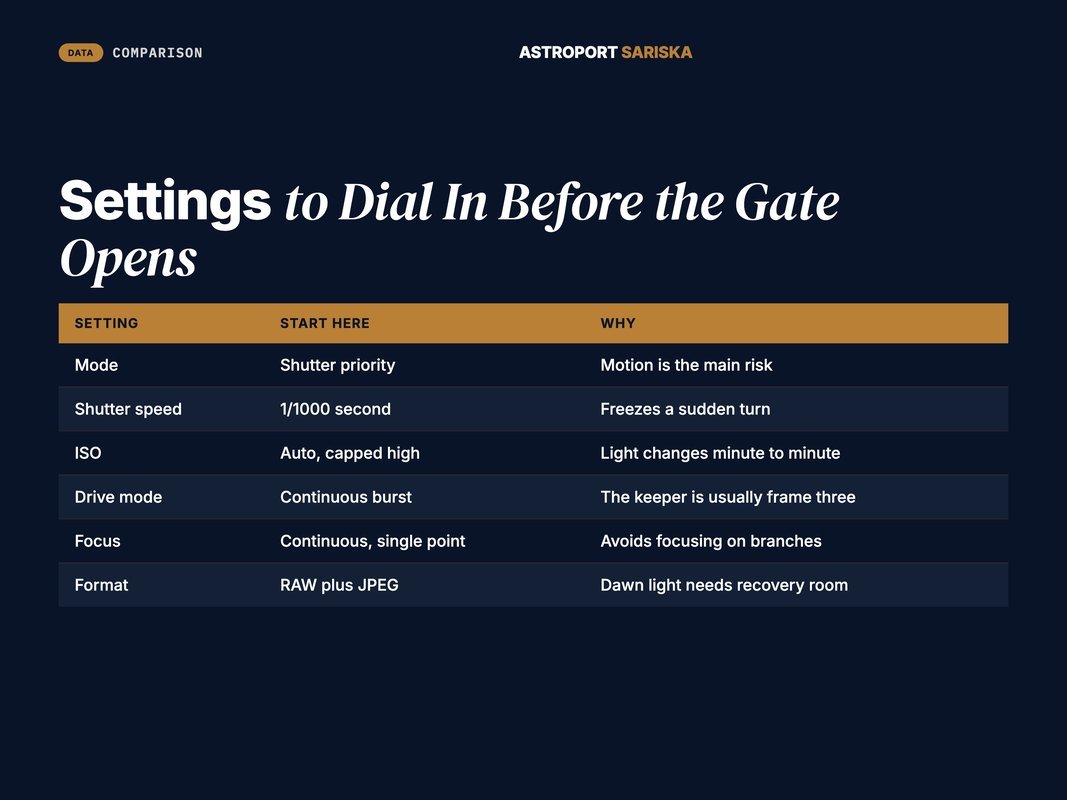
Settings to Dial In Before the Gate Opens
Set these in the lodge, not in the jeep.
| Setting | Start here | Why |
|---|---|---|
| Mode | Shutter priority | Motion is the main risk |
| Shutter speed | 1/1000 second | Freezes a sudden turn |
| ISO | Auto, capped high | Light changes minute to minute |
| Drive mode | Continuous burst | The keeper is usually frame three |
| Focus | Continuous, single point | Centre point avoids focusing on branches |
| Format | RAW plus JPEG | Dawn light needs recovery room |
The shutter row is the one that matters most. Beginners routinely shoot too slow.
A resting deer at 1/250 looks fine. Then it lifts its head, and the frame is ruined.
So start fast and let ISO absorb the cost. Grain is fixable, but blur is not.
One more habit. Point the camera at the ground and take a test frame before you set off.
That single shot tells you whether yesterday’s settings are still loaded. Because they usually are.
The Ethics, Which Matter More Than the Photograph
This is the part most gear guides skip. It is also the part that separates a welcome guest from a problem.
The governing principle is short. If your photograph changes the animal’s behaviour, you have already failed.
Established nature-photography codes converge on the same rules. The welfare of the subject comes before the image, and no photograph justifies disturbance (Source: North American Nature Photography Association, 2026 — Ethical Practices).
Published guidance on ethical wildlife photography says the same (Source: National Audubon Society, 2026 — Guide to Ethical Bird Photography). Keep your distance. Never bait or call an animal for a reaction.
Broader field guidance adds a habitat dimension. Photographers are asked to stay on tracks, keep groups small and quiet, and leave no trace of their presence (Source: Nature First, 2026 — Principles).
What That Looks Like in a Jeep
Translated into a real drive, the rules become very concrete.
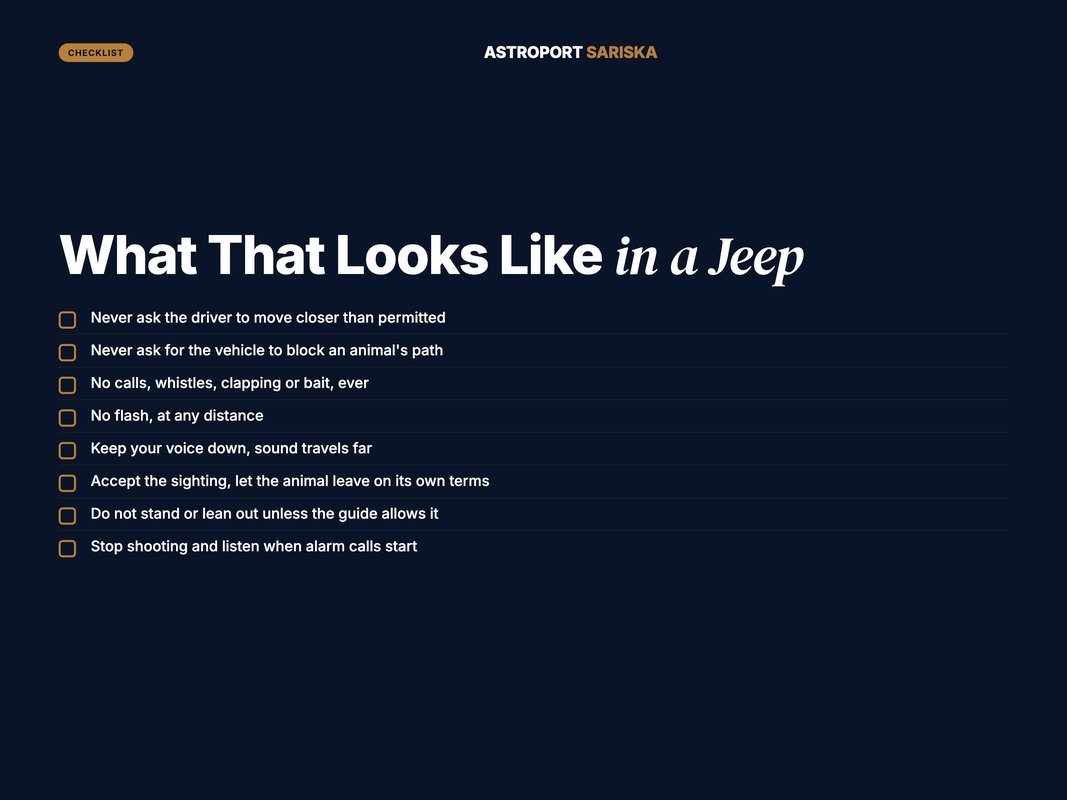
- Never ask the driver to move closer than the reserve permits.
- Never ask for the vehicle to block an animal’s path.
- No calls, whistles, clapping or bait. Ever.
- No flash, at any distance.
- Keep your voice down, because sound travels further than you think.
- Accept the sighting you get, then let the animal leave on its own terms.
- Do not stand up or lean out unless the guide says it is allowed.
That last point is also a safety rule, not just an ethical one.
Q: What if everyone else in the vehicle wants to get closer?
A: Say so early and let the guide arbitrate. Guides are usually relieved when a guest backs the rules, because it makes their job easier.
Why This Protects Your Photographs Too
There is a practical argument alongside the moral one. Stressed animals produce bad images.
An animal that has noticed you is an animal that is leaving. So you get a rump, a blur, and a tense posture.
Meanwhile an undisturbed animal behaves naturally. Then you get feeding, grooming, yawning, and the frames people actually remember.
What to Wear and Carry
Clothes matter more than you expect. So keep it simple.
Wear dull colours. Olive, grey, brown and khaki all work. Bright white and red stand out badly against dry scrub.
Dress warm for the first hour. Winter dawns in Rajasthan are cold, and an open jeep makes them colder. Then peel layers off as the sun climbs.
Here is the short packing list.
- A warm layer you can remove fast
- Sun cap or hat, for glare rather than heat
- A dry cloth for dust
- Water, kept where it will not spill
- Your spare battery, in a pocket, not a bag
Keep the bag small. Space in an open vehicle is tight, and you will be turning often.
Also, leave the tripod at home. You cannot use one, and it will be in somebody’s way.
Shoes matter less than people think. You stay in the vehicle for most drives. Still, closed shoes are wise for the stops.
One more thing. Switch your phone to silent before the gate.
A ringtone in a quiet forest carries a long way. So does a camera beep, and most cameras let you turn that off too.
One Thing People Forget
Sit on the correct side. Ask the guide which side the sun will rise on.
Then take the other one. You want the light falling on the animals, not into your lens.
Common First-Safari Mistakes
Most of these are easy to avoid once named.
Shooting too slow. The shutter is set for yesterday’s light. Then the animal moves.
Filling the frame too tightly. A little space around the animal tells the story better. Also, a tight crop leaves no room to fix a wobble later.
Chasing the rare thing. You ignore a beautiful deer while waiting for a tiger. Then neither happens.
Watching through the screen. You look at the animal only on a small display. So you leave with files but no memory.
Standing up suddenly. It startles animals and it is unsafe. Stay seated unless told otherwise.
Talking through a sighting. Sound carries. Then the animal leaves early.
Forgetting to check focus. Long lenses lock onto branches easily. So take a quick look at one frame after the burst.
Deleting too early. A photo looks worse on a small screen than it is. Wait until you are home before you judge it.
Shooting only the animal. The habitat frame often ages better. So take one wide shot at every sighting, before you zoom in.
None of these need better gear. All of them need slowing down.
Q: What is the single biggest beginner mistake?
A: Shutter speed. Almost every soft first-safari image is motion blur, not bad focus. Set it fast and leave it there.
Reading the Habitat, Not Just the Track
Good wildlife photographers spend more time watching than shooting. So it helps to know what to watch.
Sariska is dry deciduous forest with open dhok stands, rocky ridges and scattered waterholes. That structure tells you where to look.
Waterholes concentrate everything, especially late in the dry season. Meanwhile ridgelines give you silhouettes against dawn light.
Open ground is worth watching too. Animals cross it quickly, so they are easier to see there than in thick scrub.
Then look at the edges. The line where forest meets clearing is where most movement happens.
Alarm calls do more work than eyesight. When sambar or langur start calling repeatedly, a predator is usually moving nearby.
So stop shooting and listen. Then point the lens where the calls are facing, and wait.
Calls repeat when a predator is on the move. One call may be nothing. Five in a row is a signal.
Also watch the deer. They face the danger. So their heads point the way you should look.
Sariska sits within India’s project-tiger reserve network, which is monitored and reported on nationally (Source: National Tiger Conservation Authority, 2026 — NTCA). Field research protocols for such reserves are set out by India’s wildlife research institute (Source: Wildlife Institute of India, 2026 — Wildlife Institute of India).
Light Beats Subject
If you remember one compositional rule, make it this one.
A common animal in beautiful light beats a rare animal in flat light. Every time.
So shoot the first hour hard. Then ease off as the sun climbs, because midday light flattens everything.
This is hard to accept on a first trip. You want to shoot all the time. Still, the good light is short, and it is early.
Use the late hour too. The last part of an evening drive gives the same warm, low light back again.
Cloud changes the maths. An overcast morning stays usable for longer, because the light stays even.
So check the sky before you write the day off. Grey is not always bad for wildlife.
A Realistic First-Safari Routine
Here is a routine that works. Most first-timers adapt it after one drive.
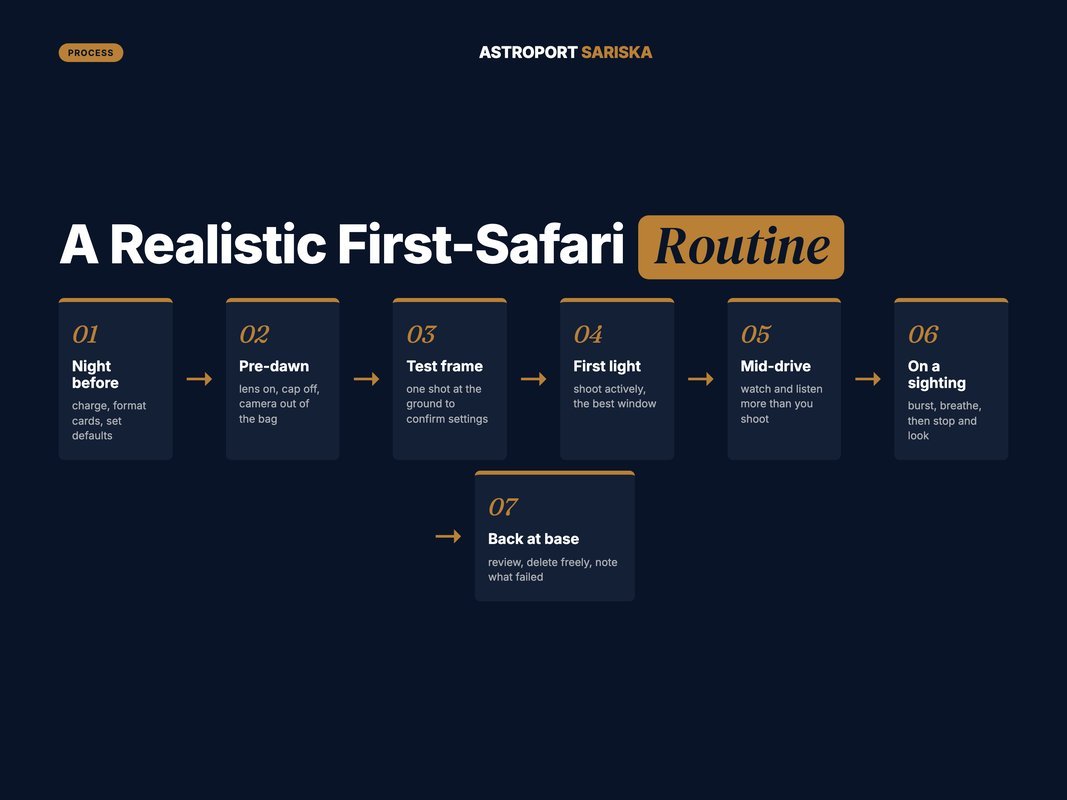
- Night before. Charge everything, format cards, set your defaults.
- Pre-dawn. Lens on, cap off, camera out of the bag before you board.
- Test frame. One shot at the ground to confirm settings.
- First light. Shoot actively, because this is the best window.
- Mid-drive. Watch and listen more than you shoot.
- On a sighting. Burst, breathe, then stop and simply look.
- Back at base. Review, delete freely, note what failed.
Step six is the one people thank you for later. Take your frames quickly, then put the camera down.
Give yourself a rule for this. Shoot for twenty seconds. Then watch for the rest.
It feels wrong in the moment. Still, it is the part guests describe afterwards, not the files.
You came to see an animal. So see it, with your own eyes, for at least thirty seconds.
Why Astroport Sariska Works for a First Safari
Astroport Sariska sits in Village Roopwaas, close to Sariska Tiger Reserve in Alwar, Rajasthan. The drive from Delhi NCR runs roughly 200 km, about four to five hours.
That proximity matters for photography. You can arrive the previous afternoon and sleep properly. Then you reach the gate at first light, with no overnight drive behind you.
The resort is India’s first purpose-built astronomy resort, so its rhythm already suits early starts and late nights. The property runs on solar power and sits under genuinely dark sky. So the mornings are quiet, and the evenings are unlit.
That same darkness gives you a second subject. After the safari, the telescopes come out, and resident astronomers run sessions for guests. Our guide to photographing the Milky Way with a phone covers that side in detail.
Meals come from the organic farm on site, which makes an unhurried breakfast after a dawn drive genuinely pleasant. Want a fuller picture of the reserve’s wildlife? Our Sariska wildlife diary lists what you can realistically expect to see.
The Short Version
Bring reach, a fast shutter, and a spare battery. Then set everything before the gate opens.
Shoot the first hour hard, and watch more than you shoot after that. Keep the shutter fast, keep the flash off, and keep your voice down.
Above all, let the animal decide how close you get. Because the best safari photographs come from animals that never realised they were being photographed.
Ready to try it? Plan a stay at Astroport Sariska and book a dawn drive for your first morning.
FAQ
Gear Questions
Q: Do I need an expensive camera for my first safari?
A: No. A basic zoom camera or a recent phone will record the trip fine. Reach matters more than brand, and patience matters more than reach. Most first-safari disappointments come from shooting technique, not from the camera body.
Q: What lens is best for safari photography?
A: A zoom in the 100-400mm range covers most situations. It is long enough for a deer at distance and flexible enough for a wide habitat shot. A single versatile zoom beats two prime lenses you keep swapping in dust.
Q: How do I protect my camera from dust on a safari?
A: Keep one lens on for the whole drive and never change it in the open vehicle. Carry a dry cloth and a simple rain cover or bag. Dust, not rain, is what ruins most equipment in dry-forest reserves.
Settings and Timing
Q: What camera settings should I start with on a safari?
A: Start in shutter priority at about 1/1000 second. Let the camera pick the aperture and allow auto ISO. Animals move suddenly and light changes fast, so a frozen frame beats a perfectly exposed blur.
Q: What time of day gives the best safari photographs?
A: The first ninety minutes after gate opening. Light is low and warm, animals are active before the heat builds, and dust has not yet risen. The late afternoon drive is the second-best window.
Ethics
Q: Is it ethical to photograph tigers and other big cats?
A: Yes, within rules. The ethical line is simple. If your photograph changes the animal’s behaviour, you have gone too far. Never ask a driver to block a path, chase, or use calls or bait to draw an animal closer.
Q: Should I use flash on a safari?
A: No. Flash startles animals and is banned or discouraged in most reserves. It also rarely helps at safari distances. Raise your ISO instead, and accept a grainier frame over a stressed animal.